
Unattended Install Windows 10 Using Windows Deployement Service On Win Server 2012 R2
Enter your email address to follow this blog and receive notifications of new posts by email.
Join 179 other followers
Posted: Oktober 30, 2015 in Windows Server
get-windowsfeature wds install-windowsfeature
In this post i configured DHCP client machines will use addresses from this scope.
To configure WDS,from server manager click WDS on the left and right click on server name on the left
In WDS console,rught click on server name and choose configure server
Check intergated with Active Directory
Select location for boot and image files
Because WDS and DHCP are on the same machine,i checked both check-boxes
Decide if you want to respond to computers objects first created in AD (prestaged) or to any computers on which F12 is pressed (unknown)
After you click Next,WDS service will start.Right click again on server name in WDS console,click AD DS tab to choose naming convention and where to store domain joined clients.Because for me domain join didn't work,these settings weren't neccessary.
On boot tab,we can set if clients can download boot image from WDS without need to press F12 button
Sysprepping referenced computer
Although i specified domain username/password in xml file,i couldn't get win 10 to be domain member,i tried many,many times,with no success
Error 0x0b003a WDS gle=0x0000276d
To overcome this issue i had to add PowerShell script to c:\windows\setup\scripts folder
After last restart in installation process,Windows will serach for any script in Scripts folder and if find any,it will be executed
calls jd.ps1 powershell script
-nologo -executionpolicy bypass -noprofile -file "C:\Windows\Setup\Scripts\jd.ps1"
Standardmäßig,powershell doesn't allows running custom PS scripts,that's why we need to bypass it
joins computer to domain
$domain = "" $password = "Mypass" ConvertTo-SecureString -asPlainText -Force $username = "$domain\administrator" $credential = New-Object System.Management.Automation.PSCredential($username,$password) $ouPath="OU=workstations,DC=test,DC=com" add-computer -Credential $credential -DomainName $domain -OUPath $ouPath -restart -force
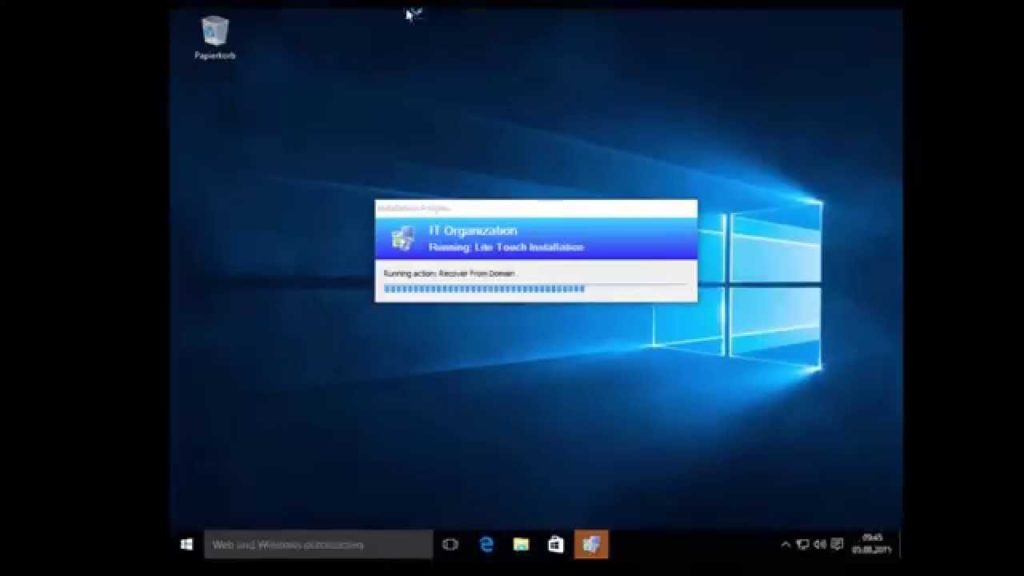
Now we need to capture image from this client computer (so that content of scripts folder can be available to all newly deployed computers) and upload it to WDS server so it can be available for also can install all neccesarry applications needed for users,and adjust system to comply to company policies.I didn't join reference computer to domain.
SYSPREP is a tool that allows an admin to create a custom install OS image with all the necessary programs preinstalled.
Sysprep is located on %Windir%\System32\Sysprep
SYSPRER removes system-specific information from a Windows image, including the computer security identifier (SID) which allows you to transfer the image to other systems
After you click OK,SYSPRER will remove system-specific info from the system and shutdown it
Creating Capture image
Capture image is type of boot image that we boot a client computer into to capture the operating system as awim create capture image from boot image (located in setup DVD in source folder)-the Microsoft Windows Preinstallation Environment (Windows PE) image.
Windows Preinstallation Environment (Windows PE) is a minimal Win32 operating system with limited services, built on the Windows kernel. It is used to prepare a computer for Windows installation, to copy disk images from a network file server, and to initiate Windows Setup.
In WDS console,right click on Boot Image-Add Boot image
browse to install DVD-source folder-and click Next
Right click on just imported boot image and select create capture image
Browse to uploaded boot image (partition set during WDS initial configuration\Boot\X64\Images
Type image and file name
Right click anywhere on the right and choose Add Boot image
Select image created in previous step
Give it name and click next
Jetzt,power on referenced computer (on which we run Sysprep) press F12 and choose captured image we've just created
In name and location,browse somewhere on C disk and give image descriptive name,check upload image to WDS,
by default ImageGroup1 is created and click next,image of referenced client computer,represented in wim file will be uploaded to WDS.
After upload completes (time depends on client disk size and network bandwith),in WDS console rigtr click
Install image and choose Add install image
Captured image is stored in Images\ImageGroup folder
Jetzt,when we have imported image of client computer,we can create xml file which would ensure automatic Win10
installation.Download Windows Assesement and Deployement Kit to WDS -FABE-48FD-A537-7D8709586715/adk/
Select Deployement Tools
In C:\Program Files (x86)\Windows Kits\10\Assesement and Deployement Kit\Deployement Tools\Wsim folder,run file
Windows System Image Manager opens,using this tool,we'll create files needed for automatic Windows 10 installation.
Windows System Image Manager (WSIM) uses Windows image (.wim) files and catalog (.clg) files to display the available components and packages that can be added to an unattended answer file. Windows images and catalog files contain configurable settings that you can modify once the component or package is added to an answer file.
I tried to create catalog file from captured image and WSIM thrown an unspecified error”,so i used default wim file from Win 10 install media
I had to copy from DVD to local disk
In WSIM click file-Select windows image
Browse to (copied from DVD),you'll be promted to create catalog file
A catalog” file is a binary file that lists the state of all the settings and packages in a Windows image. When a catalog is created, it queries the Windows image for a list of all the settings in that image
After creating catalog file,click New Answer File
Expand Conponents right click amd64_Microsoft-Windows-International-Core-WinPE_10.0.10240.16384_neutral
Here we set Input,System,Language and User locale
Now select Microsoft-Windows-Setup_10.0.10240.16384_neutral and again select Pass 1 WindowsPE
In this stage we configure HDD-partition,label and letter
Under Windows deployement service (part of Microsoft-Windows-Setup_10.0.10240.16384_neutral)we specify image name,image group and wim filename
And WDS credentials
select amd64_Microsoft-Windows-Shell-Setup_10.0.10240.16384_neutral and choose pass 4 specialize (varius system desktop related settings)
Save xml file to folder where images are stored.
In WDS console,right click on WDS server-Client properties and browse to xml file we just created
Create new XML file
Select amd64_Microsoft-Windows-International-Core_10.0.10240.16384_neutral and choose
pass 7 oobeSystem: In this configuration pass, settings are applied before the LogOn screen appears
Again,select amd64_Microsoft-Windows-Shell-Setup_10.0.10240.16384_neutral and choose
pass 7 oobeSystem
Setting Local Admin Account
Fire off workstation and installation should proceed without user intervention
Share this:
Hey,
Is it possible to deploy Windows 10+ unattended file with WDS installed on a Server 2008R2 server ?
Sincerely,
Hey,
what is to do that I can typing the ComputerName manuell in, by the deployment?
Regards,
Achim
Change your WDS Server's PXE settings to prompt for administrator approval for all known and unknown PCs
This will then generate a request ID when the PC is booted via F12
name and approve the PC in WDS via the pending devices container.
Dragan,
Do you know how to enable the build in administrator account for Windows 10 unattended file?
Sincerly,
Nick
Add a RunSynchronous Command.
and password.
Hi Dragan, can u plz add domain join code with administrator (access user name and password), also to add machine to OU.
my xml file is below, its joining to doamin and putting mahcine to right OU. but i am getting an error while logging in with local user. You've been signed in with a temporary profile”.
but with your file with joining to domain there is no errro.
can u plz put joining domain code in a proper way in your file and send me. also plz add code for computer name which is missing in your file.
my file is as below.
en-us
en-us
en-us
en-us
en-us
true
true
localthinuser
true
en-us
en-us
en-us
en-us
en-us
true
true
localthinuser
true
Hi,
i have one question… when i create the VM with Windows 10 OS and sysprep the machine, will the drivers of the virtualization tool be in the sysprepped image? Because when i deploy the image with the drivers to machines, didnt cause that problems with new drivers from the Client?
greetings,
Jonny
but domain joining is possible. I use wds prestage, and in specialize pass, set computername equals %computername%, and add Microsoft-Windows-UnattendedJoin to specialize pass. you can try it also
How do you deal with drivers when deploying to physical machines?
My hat is down for a such tutorial. I am planning to introduce WDS and deploy apps via WDS.
As I am in the UK, there is a way for the language to be everything in UK language pack ?
Many thanks
Like Like
en-US
en-US
en-US
en-US
en-US
1
500
Primary
true
2
Primary
true
NTFS
System
1
1
NTFS
Fenster
C
2
2
0
true
OnError
0
2
NPPR9-FWDCX-D2C8J-H872K-2YT43
true
Company
%MACHINENAME%
false
Conduent
DOMAIN
(W(e)@r(e)@c$)it
KYLEXNC-Reboots
DOMAIN
OU=Computers, OU=STREET, OU=CITY, OU=STATE, DC=DOMAIN, DC=COM
en-US
en-US
en-US
en-US
true
true
true
true
1
I have followed this article and it works fine except for domain join. I have used as advised in this article but still my computer doesn't joins to the domain.
I have checked setupact and setuperr but couldn't find any errors related to domain join.
Is there anywhere else I can check the logs to see why is it not joining the domain?
but I made one mistake. After adding amd64_Microsoft-Windows-UnattendedJoin_neutral to 4 specialize and adding domain, user and password you must add true attribute to JoinDomain. Tried it now and it certainly works
Si quieres conocer otros artículos parecidos a Unattended Install Windows 10 Using Windows Deployement Service On Win Server 2012 R2 Puedes visitar la categoría Allgemein.
Hinterlasse eine Antwort
du musst sein eingeloggt einen Kommentar posten.